
Last updated October 16, 2026
 Water damage drying
 Fire & smoke cleanup
 Mold remediation
 Storm response
 Sewage cleanup
 Reconstruction
Free visual inspection and a written scope of work before any mitigation begins - photos, moisture readings, and drying logs go in your claim file
The scope we write is the scope we bill. Anything new gets shown to you, in writing, before we touch it.
Get your free estimateDIY vs Professional Damage Restoration: The Los Angeles Homeowner’s Decision Guide
Here’s a number most Los Angeles homeowners never hear until it’s too late: mold colonization on wet drywall begins within 24 to 48 hours. Not weeks. Not “when it starts smelling.” Two days. That’s the quiet clock running behind every “I’ll just rent some fans and dry it myself” decision, and it’s why California’s mold disclosure statute (Civil Code 1102) turns hundreds of DIY water damage attempts across Los Angeles into legal obligations sellers never planned for. This guide maps exactly where the DIY line is, what it costs to cross it, and how to decide before the moisture does the deciding for you. For how to hire a damage restoration contractor in Los Angeles: a step-by-step guide, see our companion resource.
Restoration work we handle
Quick Answer
DIY damage restoration is safe and sensible for surface water on non-porous flooring, small spills that never reached drywall or baseboards, and document salvage. The moment water touches drywall, insulation, subfloor, or anything porous, you need professional moisture mapping and drying under IICRC protocol. In Los Angeles, the difference is typically $400 in rental equipment versus $2,000 to $4,000 for professional drying, but a botched DIY job can trigger mold disclosure obligations under Civil Code 1102 that turn that same event into a $12,000 remediation and a sale-killing disclosure problem.
Table of Contents
- The 48-Hour Rule: Why Moisture Mapping Beats Guessing
- The DIY Safe Zone: What You Can Actually Handle
- Professional Territory: When Drywall, Insulation, or Subfloor Is Wet
- California’s Mold Disclosure Law and the DIY Trap
- Insurance Claims: How DIY Actions Can Reduce or Void Coverage
- The Real Cost Comparison: $400 Rental vs. Professional Documentation
- The Five-Step DIY Protocol for True Surface-Only Water
- Common Mistakes to Avoid
- When to Call a Professional
- Frequently Asked Questions
- The Bottom Line
The 48-Hour Rule: Why Moisture Mapping Beats Guessing
Mold spores are always in Los Angeles air. They ride in through open windows, on shoes, on pet fur. What they lack is a food source and water. Wet drywall gives them both. Within 24 to 48 hours of saturation, dormant spores germinate and begin colonizing the paper facing of gypsum board. The colony is invisible at first. You cannot see it. You cannot always smell it. By the time discoloration appears, the colony has been feeding for days or weeks. This is why professional restoration uses moisture mapping rather than visual inspection. A pin meter reads moisture content inside the material. A thermal imaging camera shows temperature differentials that reveal hidden wet pockets behind walls and under cabinets. Fans blowing air across a surface dry what they touch. They cannot dry what they cannot reach.
In our experience across Los Angeles, we regularly find residual moisture in wall cavities three or four days after a homeowner has been running box fans nonstop. The floor felt dry. The wall felt dry to the hand. The meter said 22% moisture content in the drywall core, which is more than enough to support colonization. That homeowner didn’t fail because they were careless. They failed because the tools they had measure what a tool can measure, and a hand is not a moisture meter. Psychrometric drying, the professional approach, tracks the air’s moisture level throughout the drying process so we know when your home is truly dry, not just surface-dry. Our water damage restoration maintenance checklist for Los Angeles homeowners outlines what to monitor. It’s the difference between guessing and knowing, and in Los Angeles real estate, knowing matters in ways most homeowners don’t appreciate until they sell.
The DIY Safe Zone: What You Can Actually Handle
There is a real DIY lane in water damage, and it’s broader than restoration companies often admit. The key question is what the water touched, not how much water there was. Non-porous surfaces do not absorb water. Porcelain tile, sealed concrete, vinyl plank flooring with sealed seams, and laminate that was wiped dry within minutes are all reasonable DIY territory. The same applies to water that pooled on a kitchen floor from a dishwasher overflow but never reached baseboards, cabinets, or walls.
Here’s what a Los Angeles homeowner can realistically handle with a shop vac, towels, and a few hours of work:
- Surface extraction from non-porous flooring – tile, sealed concrete, vinyl that wasn’t saturated beneath. A wet-dry vac removes standing water completely. Towels and a mop handle the rest. If no water touched a porous surface, you’re done.
- Document salvage – paper files, photos, tax records, and books can be air-dried if they were splashed but not soaked. Place them on a dry surface with air circulation. Never microwave wet documents. Never leave them stacked.
- Temporary weatherproofing – tarping a roof leak, placing buckets, shutting off the water supply valve. This is emergency mitigation, not restoration, but it’s the single most valuable DIY action you can take. Stop the source first. Everything after comes later.
- Small area rugs – a rug that got wet on top and was moved to dry concrete or a patio within minutes can often be saved by hanging. If the rug pad underneath is wet, treat it as porous and replace or professionally dry.
The DIY safe zone has one hard boundary: if water touched any porous building material, the DIY window closes. That means drywall, insulation, subfloor, particleboard, MDF baseboards, or the underside of carpet and pad. Water wicks upward and outward through these materials faster than most people believe. A half-inch of water on the floor can be in the drywall four inches above the floor within an hour.
Professional Territory: When Drywall, Insulation, or Subfloor Is Wet
Drywall is the most forgiving and most dangerous material in your home. It’s forgiving because it’s cheap to replace. It’s dangerous because it hides what’s happening inside the wall cavity. When water reaches drywall, it wicks into the gypsum core and up the paper facing. The water in the cavity does not evaporate on your timeline. It sits there, trapped behind the baseboard and inside the wall, feeding spores while the room’s air dries the surface. This is exactly the scenario where a Los Angeles homeowner with rental fans believes the problem is solved and is wrong.
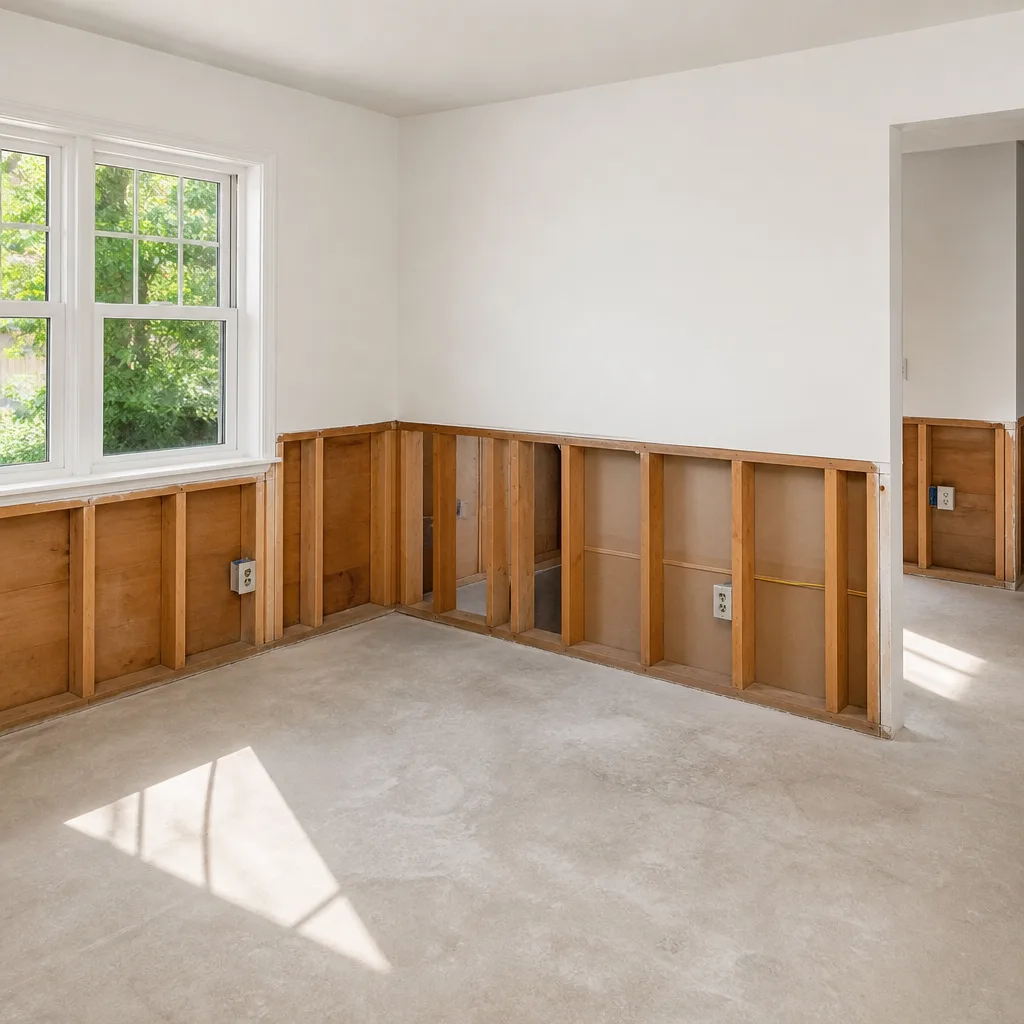
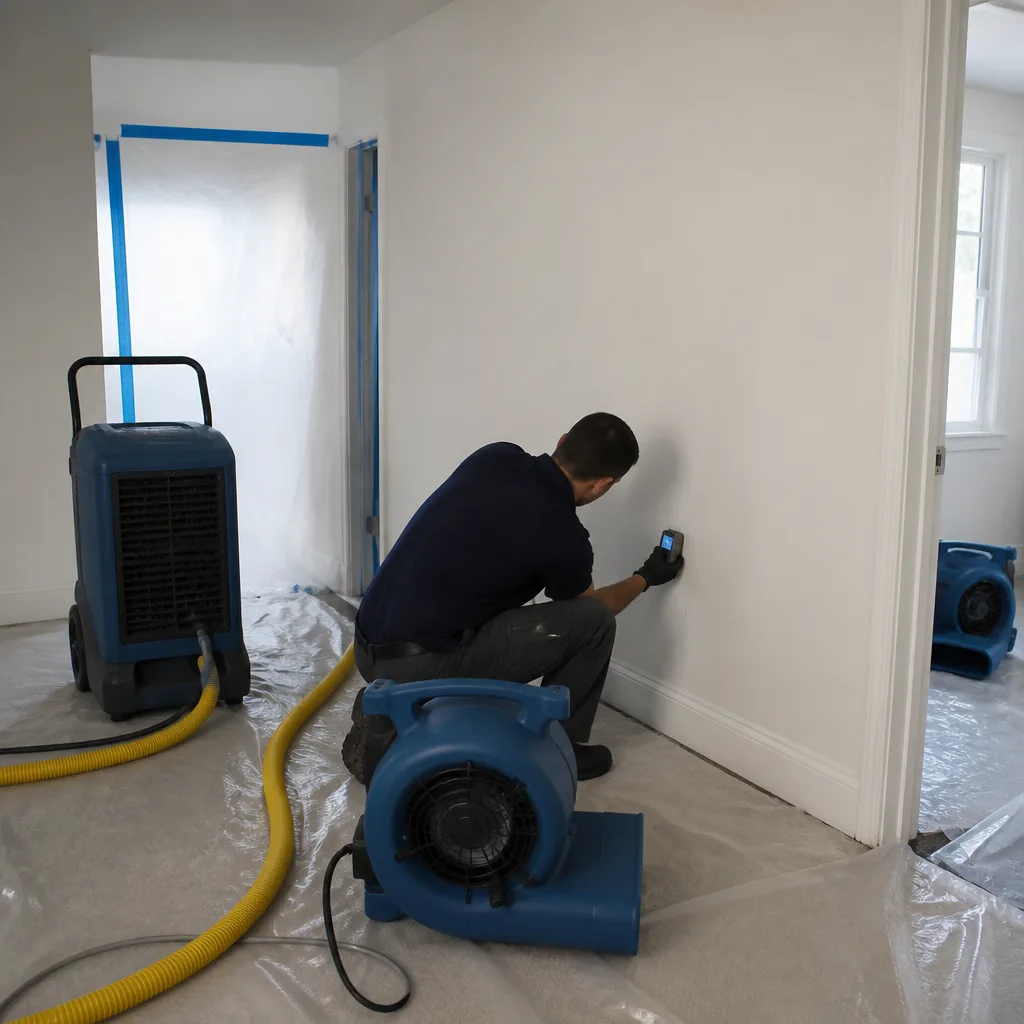
A professional restoration job on wet drywall starts with moisture mapping. We mark the wet area, measure moisture content at multiple depths, and determine the drying boundary. That boundary tells us where to cut and where to dry. Cutting out wet drywall reaches the cavity, where insulation may be saturated and holding water against the framing. That insulation comes out. The cavity gets dried, checked with a meter, and only then is new drywall hung. The standard we work under is IICRC protocol, which is the restoration industry’s building code for water damage. It specifies drying targets, equipment placement, and documentation requirements. The same protocol an adjuster expects when you file a claim is the same protocol that produces a drying log you can show a buyer or a lawyer years later.
Subfloor is trickier than drywall. Plywood and OSB absorb water slowly and release it even more slowly. Vinyl flooring and laminate trap moisture against the subfloor, which is why water that sat overnight under a floating floor often requires lifting the floor, drying the subfloor with air movers and dehumidifiers, and reinstalling or replacing the flooring. This is not a weekend project. It’s a three-to-five-day professional drying job with equipment you cannot rent at Home Depot, specifically high-capacity LGR dehumidifiers and air movers positioned using psychrometric calculations.
California’s Mold Disclosure Law and the DIY Trap
Civil Code 1102 is the statute most DIY water damage guides never mention. It requires California sellers to disclose known mold and known water intrusion events that created conditions likely to produce mold. Here’s how it applies to a Los Angeles homeowner who dried a water event themselves: you had a water event. You dried it. You believed it was handled. You did not create a moisture map, a drying log, or a post-remediation verification report because you were not a professional and had no reason to think you needed one. Three years later, you sell. A buyer’s inspector finds mold in the wall cavity. You now have a disclosure obligation you didn’t know you created and a legal exposure that didn’t exist before the water event. The disclosure form asks if you are aware of any water intrusion. You know you had one. You can’t honestly say no.
This is the hidden cost of DIY water damage restoration in Los Angeles. The repair itself may look successful. The surface may be painted and patched. But mold does not care about paint. The colony continues growing behind the drywall, out of sight, for as long as moisture and food remain available. A professional restoration with IICRC-standard documentation creates a paper trail: initial moisture readings, drying target calculations, daily humidity monitoring, final moisture content verification, and a post-remediation clearance where applicable. That paper trail is what clears a mold disclosure obligation on a seller’s disclosure form. A receipt from a tool rental company clears nothing.
The mold remediation piece is its own world. When mold is already present, you’re not drying a water event, you’re remediating a biohazard. Our Mold Remediation in Los Angeles page covers the containment, HEPA filtration, and clearance-testing process in detail. For this guide, the point is simpler: DIY drying of a water event can create mold. DIY removal of mold creates airborne spore spread, which is worse than the original problem. Los Angeles homes are not laboratory environments. When spores are disturbed, they become airborne and settle throughout the house. Professional remediation uses negative air pressure and containment barriers for a reason.
Insurance Claims: How DIY Actions Can Reduce or Void Coverage
Insurance policies have a provision most homeowners skim: the duty to mitigate. You are required to take reasonable steps to prevent further damage after a covered event. You are also required to allow the insurer’s adjuster to inspect the damage before you make permanent repairs. These two obligations sit in tension, and the DIY homeowner often violates the second while trying to honor the first.
The classic scenario: a pipe bursts in a Los Angeles bathroom. Water runs through the ceiling into the room below. The homeowner calls the insurer, leaves a message, then starts tearing out drywall, cutting out carpet, and hauling debris to the curb. The adjuster arrives two days later to a room that has been significantly altered. The insurer now has limited ability to verify the scope of the original damage. They are not required to take the homeowner’s word for it. Coverage may be reduced, and in some cases the altered scene gives the insurer grounds to deny parts of the claim.
The correct sequence is this: make temporary stops to the water source, document everything with photos and video, contact the insurer, and wait for adjuster instructions before structural demolition. If the adjuster cannot arrive promptly and the damage is actively worsening, you may need to take emergency action. In that case, document every cut, every removed material, every damaged item, and keep the materials on-site if possible. Photos before, during, and after are your evidence. Time-stamped photos with a ruler or tape measure for scale are stronger. The insurance carrier will also want to see a professional drying log if they are going to pay for professional drying, which is why most Los Angeles homeowners who file claims end up hiring a restoration company with IICRC-standard documentation anyway.
The company you choose should coordinate directly with your insurer. Our team at Wendell Restoration Los Angeles documents every step of the process with photos, moisture readings, and a written scope so your adjuster sees exactly what happened and what it took to fix. That documentation is the difference between a smooth claim and a dispute that drags on for months. Our Wendell Restoration Los Angeles home page walks through how that process works from first call to final invoice.
The Real Cost Comparison: $400 Rental vs. Professional Documentation
The cost question is where Los Angeles homeowners make the decision, and the honest answer is that DIY looks cheaper on the surface but the math changes when you include risk. Here’s the real comparison for a typical water event: a toilet supply line bursts, water covers a bathroom floor, reaches the hallway, and soaks a section of drywall and baseboard. Maybe 200 square feet of affected area.
DIY route:
- LGR dehumidifier rental: $150 to $200 per day (you’ll need it for at least three days)
- Air mover rental: $40 to $60 per day per unit (you’ll need at least two)
- Total equipment cost: $400 to $700
- Your time: 10 to 20 hours including setup, monitoring, and takedown
- Documentation: none
- Verification that drying is complete: none
- Risk: concealed moisture, mold colonization, disclosure obligation, insurance claim reduction
Professional route:
- Water extraction, affected area mapping, equipment setup: $1,200 to $1,800 for a small to mid-size event
- Daily monitoring and equipment adjustments: included in scope
- Drying verification with moisture meters: included
- Written scope of work before any work starts: included, and it’s a Wendell standard
- Drying log and final moisture readings: included
- Before-and-after photos by text: included
- Documentation for insurer and future disclosure: included
- Risk: substantially lower
For a small event that never touched porous materials, the DIY route makes real sense. You’ll spend $100 at most and be done in an afternoon. For any event that touched drywall, insulation, or subfloor, the professional route is not an upsell, it’s the only route that produces a verifiably dry home. The Los Angeles market adds another layer: you may sell this home someday, and Civil Code 1102 will ask what you know. A drying log is a document that answers the question. A Home Depot rental receipt does not. Our Water Damage Restoration in Los Angeles page covers full-service restoration, including what our written scope includes and how long a typical drying takes in Los Angeles climate conditions.
One more consideration: insurance may cover the professional route entirely, minus deductible. If your event is a covered loss, your out-of-pocket for professional restoration may be $500 to $1,000, not $2,000 to $4,000. Many Los Angeles homeowners who chose DIY and later filed a claim learned they spent $700 on rentals and still paid a $500 deductible on a professional job that came after the DIY attempt failed. The DIY was not a savings. It was a two-week delay and a double cost.
The Five-Step DIY Protocol for True Surface-Only Water
If your water event stayed in the DIY safe zone, here’s the protocol we recommend for Los Angeles homeowners. This is for true surface water only, the kind that never touched a porous material beyond a quick splash. If at any step you find evidence the water went farther than you thought, stop and call a professional.
- Stop the source. Shut off the water supply valve, turn off the appliance, close the roof penetration if you can safely reach it, or call the utility for a shut-off. Nothing else matters until the water stops arriving.
- Extract standing water. Use a wet-dry vac on hard surfaces. Push water toward a floor drain or out a door. Towels and a mop handle the film that remains. Time matters less on non-porous surfaces than on porous ones, but standing water has a way of finding baseboards and door frames.
- Check the boundary. Look at every baseboard, door frame, cabinet toe-kick, and wall section within a foot of the water’s reach. Press your hand against drywall near the floor. If it feels cool, damp, or soft, the water got into the wall. That ends your DIY window and moves you into professional territory.
- Run ordinary air circulation for 24 hours. Box fans and open windows work for surface moisture that has no porous reservoir feeding it. This is not psychrometric drying, but for truly surface-only water, ordinary air movement is adequate.
- Verify with your senses, then verify again. After 24 hours, the floor should be dry to the touch with no odor. Wait another day. If any mustiness appears, any discoloration, any warping, the event was not surface-only. You need a professional moisture assessment.
Step 3 is the one people skip. They extract the water, run fans, and never press a hand against the baseboard. The baseboard is where the water went if it went anywhere. MDF baseboard absorbs water like a sponge and hides it behind a painted surface. If the baseboard swelled, cupped, or separated from the wall, the water reached the drywall behind it. That’s not a surface event anymore.
Common Mistakes to Avoid
- Assuming a fan equals drying. A fan moves air, which accelerates surface evaporation. It does not reach water inside a wall cavity, behind a vanity, or under a tub. We’ve seen Los Angeles homeowners run fans for five days and still have 18% moisture content in the drywall four feet from where the fan was pointed. Air movement is not drying protocol unless paired with dehumidification and verified with meters.
- Pulling up carpet to save it. Pulling saturated carpet and pad without cutting and discarding the pad is counterproductive. Carpet can sometimes be cleaned and saved, but the pad underneath is a sponge that cannot be effectively dried once saturated. Leaving it in place under the carpet extends the drying window dramatically.
- Not documenting anything. If you take emergency action before your adjuster arrives, photos are your only evidence of the original scope. No photos, no proof. Film a walkthrough of the affected area before touching anything. Film it during removal. Film it after. Your phone is your documentation tool.
- Drying, patching, and painting over suspect drywall. Drywall that got wet and was dried with fans looks fine for months, sometimes years. Then the paint bubbles or the baseboard separates and you open the wall to find black colonization. If drywall is wet, the correct action is cut and replace or professional structural drying with verification. There is no third option.
- Using bleach on mold. Bleach kills surface mold on non-porous surfaces but does not penetrate porous materials like drywall and wood. The roots of the colony survive, and bleach’s high water content can actually add moisture to the material. Bleach is not a mold remediation product on porous building materials.
- Ignoring a small repeated leak. A slow drip under a sink or behind a washing machine over months does more damage than a sudden overflow. By the time the homeowner notices, the subfloor and wall framing may have been wet for a year. If you see staining, warping, or persistent mustiness, stop looking and start measuring.
- Assuming California air will dry it out. Los Angeles is dry most of the year, but a closed room with wet drywall creates its own microclimate. Interior air becomes humid within hours. Natural ventilation through windows helps only if the water is on the surface and the weather cooperates. A saturated wall cavity will not dry through a window in any meaningful timeframe.
When to Call a Professional
Call a professional the moment water reaches drywall, insulation, subfloor, or the underside of carpet. Call if you see staining, warping, or visible mold. Call if the water source is a sewage line or a flood that carried outdoor contaminants, because that’s a different category of hazard entirely. Call if you plan to file an insurance claim and the adjuster will need documentation. Call if you cannot identify the full extent of the water’s travel. Wendell Restoration Los Angeles offers free estimates throughout Los Angeles, and our technicians arrive with live arrival times you can track, written pricing before any work starts, and before-and-after photos texted to your phone. Call (213) 349-9500.
Our Water Damage Repair in Los Angeles page covers the repair side of restoration, from drywall replacement to flooring and trim, with the same written-scope standard we apply to every job. If you’re not sure whether your situation is DIY or professional, call us and describe what you see. We’ll tell you straight whether you can handle it yourself or need a technician. That call costs nothing.
Frequently Asked Questions
You can dry surface water on non-porous flooring, document salvage, and temporary weatherproofing yourself. The moment water reaches drywall, insulation, subfloor, or carpet pad, DIY drying cannot verify the cavity is dry, and incomplete drying creates conditions for mold growth within 24 to 48 hours. Call (213) 349-9500 for a free assessment if you’re unsure where your event falls.
Most Los Angeles homeowner policies cover sudden and accidental water events like pipe bursts and appliance failures, minus your deductible, and the professional documentation from a company using IICRC standards strengthens your claim. Coverage depends on your policy’s specific terms, the cause of the water, and whether you took reasonable mitigation steps. Our team coordinates directly with your adjuster to document the loss fully.
Wendell Restoration Los Angeles answers every call with a live person 24/7, and our technicians show up with a trackable live arrival time, not a four-hour window. In water damage, the 48-hour mold window makes same-day response the standard for mitigation, not an exception.
If water touched only non-porous surfaces and was extracted quickly, a cleaning is often enough. If water touched drywall, insulation, subfloor, or carpet, you need structural drying with moisture verification, which is a restoration process. The material the water touched determines the answer, not the amount of water.
Yes. Civil Code 1102 requires sellers to disclose known water intrusion events and known mold. A professional restoration with drying logs and final moisture readings gives you documentation that the event was properly resolved. A DIY repair creates an obligation you must disclose but may not be able to clear.
For a small to mid-size event touching drywall and flooring, expect $2,000 to $4,000 for professional drying and minimal reconstruction. Larger events or those requiring mold remediation cost more. The price is put in writing before any work starts, and you’ll get a digital invoice you can pay from a link. Call (213) 349-9500 for a specific quote on your situation.
The Bottom Line
The DIY versus professional question in damage restoration is not about skill. It’s about hidden variables: mold’s 48-hour colonization window, California’s disclosure statute, insurance documentation requirements, and the impossibility of verifying a wall cavity is dry with your hand. For surface water on non-porous materials, DIY is honest work and worth doing. For water that touched drywall, insulation, subfloor, or carpet pad, professional restoration with IICRC-protocol documentation is not an upgrade. It’s the only version of the repair that holds up in an insurance claim or a real estate disclosure two years later. In Los Angeles, that distinction costs about $2,000 to $4,000, and it buys a drying log, a clearance, and the ability to answer a future disclosure form with documentation instead of a guess. Wendell Restoration Los Angeles has been serving Los Angeles since 2006. For more guides & resources, visit our blog.ritten pricing before any work starts and a 365-Day Done Right Promise on every repair. Call (213) 349-9500 for a free estimate.
Written by Blake Sorensen, Owner at Wendell Restoration Los Angeles, serving Los Angeles since 2006.
See the difference
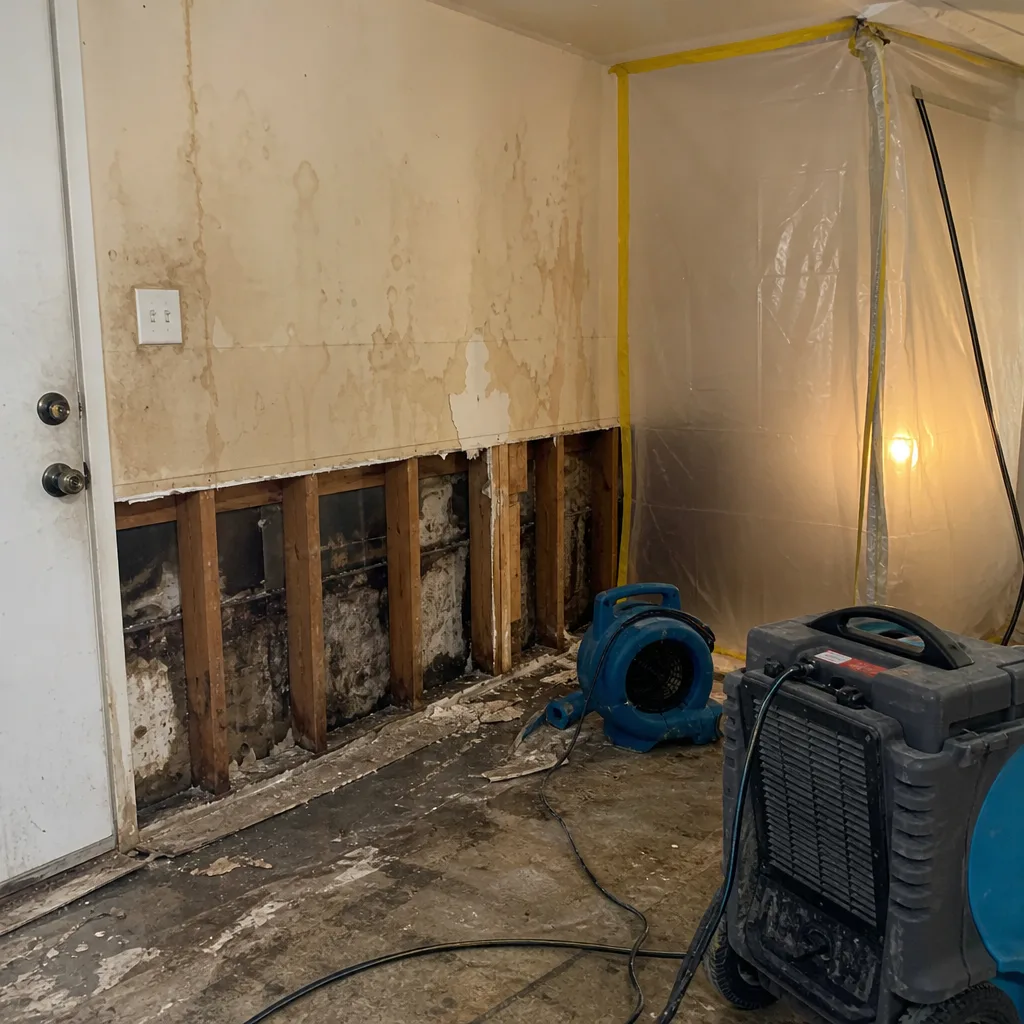 Before
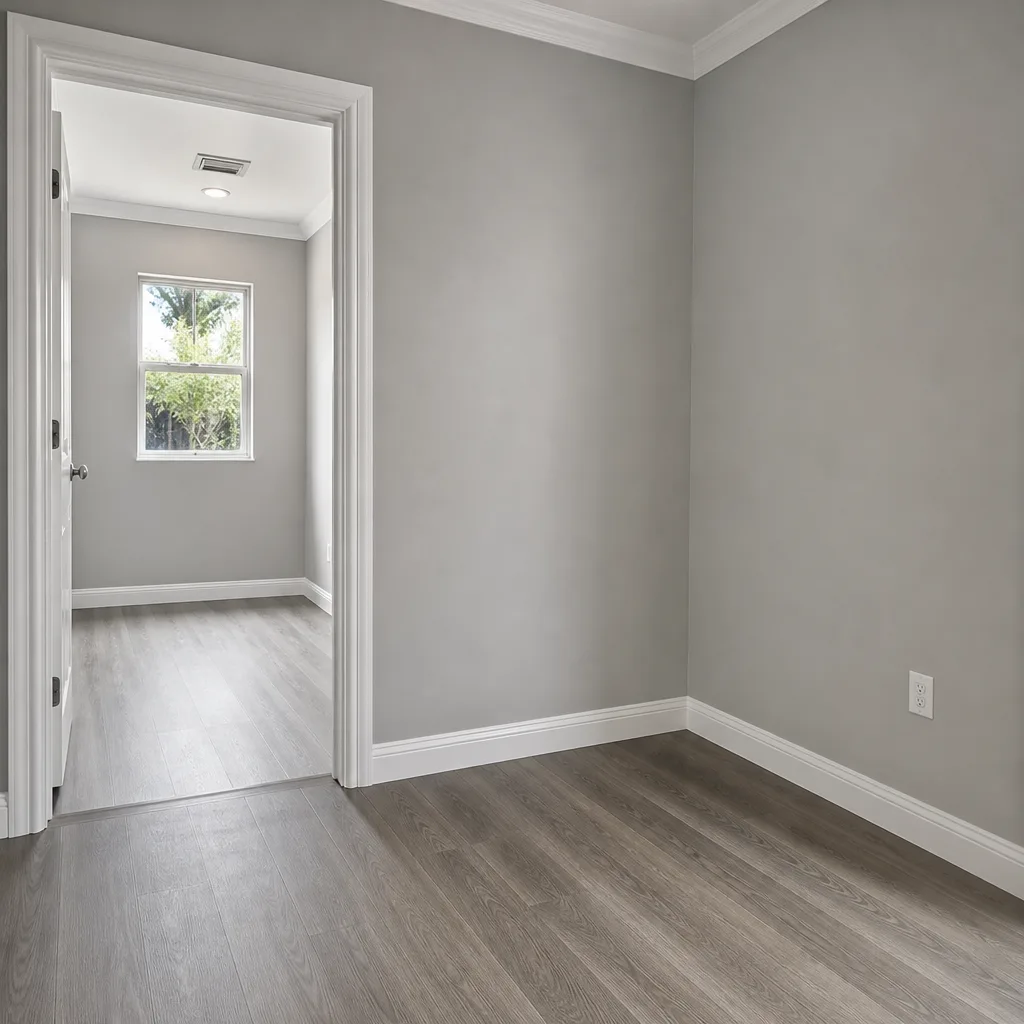 After
After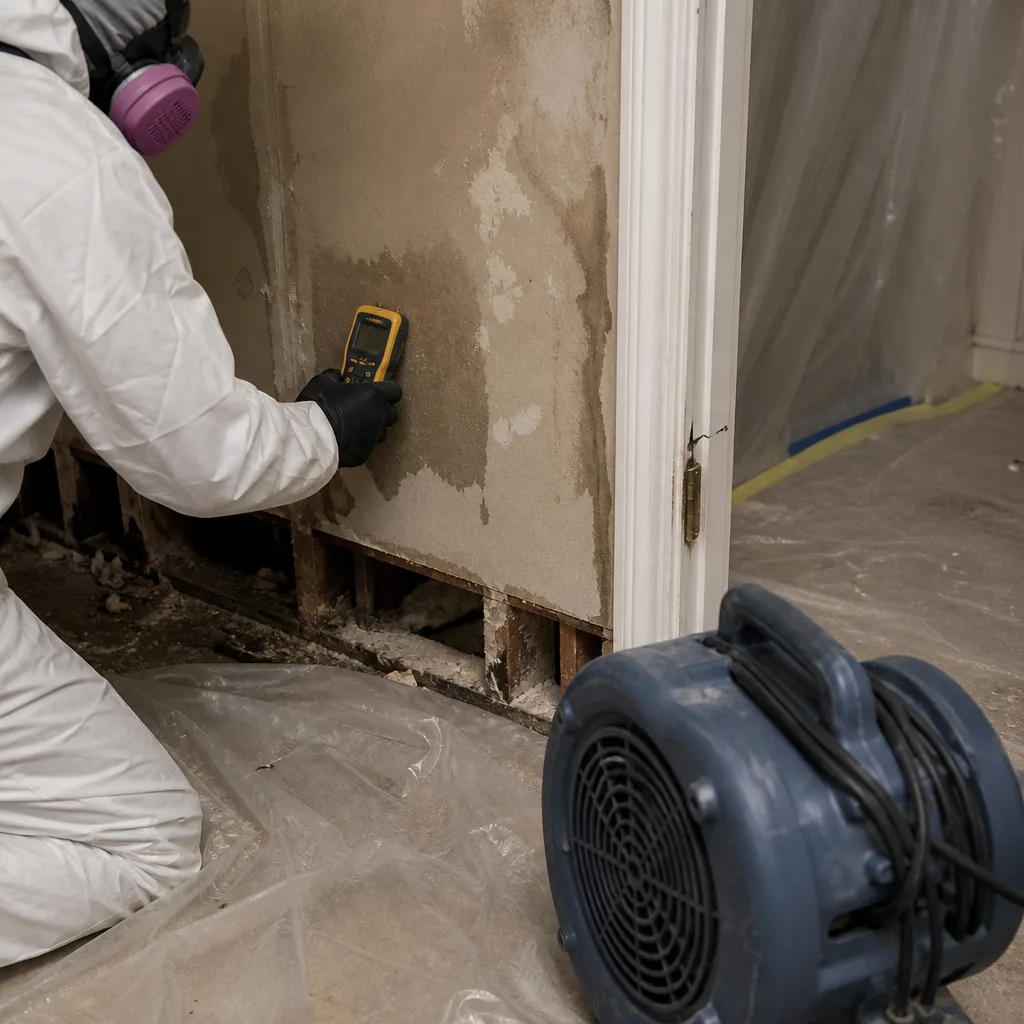 Before
 After
After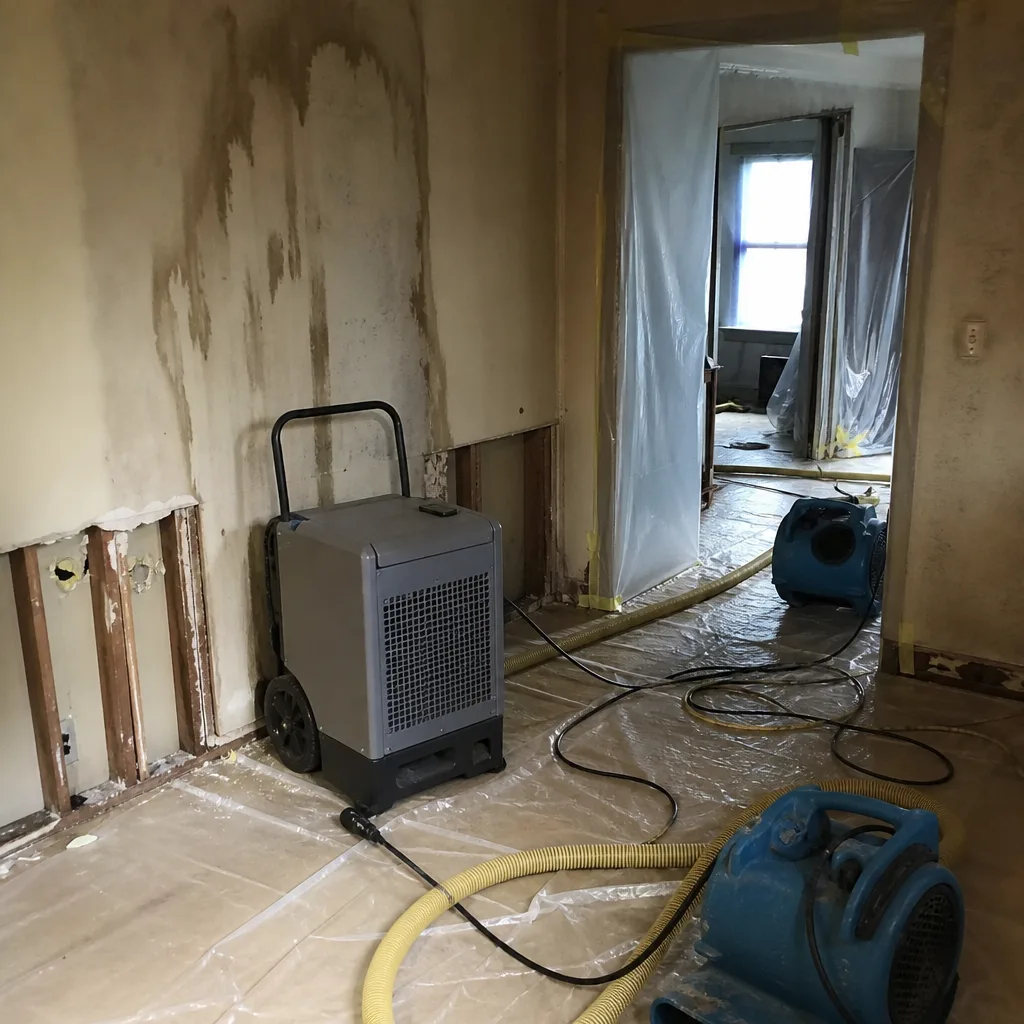 Before
 After
After